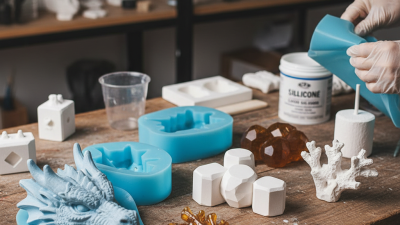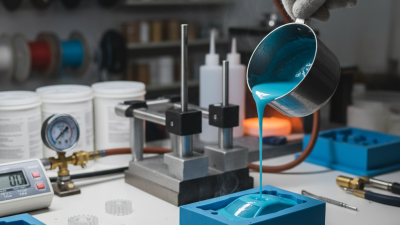
Choosing silicone rubber for mold making in 2026 requires more than comparing prices or Shore hardness. The correct material must match the model, casting medium, surface detail, and expected production volume. A soft silicone may capture fingerprints beautifully, yet collapse around undercuts. A firmer grade may stand upright, but tear when removing a complex sculpture.
As mold-making educator David Neat explains, “Choose the mold material according to the object and the casting process, not convenience alone.” This principle remains practical. For fine jewelry or miniature models, a low-viscosity platinum-cure silicone can reproduce sharp edges and tiny textures. For larger molds, higher tear strength and controlled flexibility matter more. Always check the technical data sheet. Manufacturers differ in viscosity, cure time, hardness, shrinkage, and temperature resistance.
Test before production.
A small compatibility test can prevent an expensive failure. Some modeling clays, paints, sulfur compounds, and 3D-printing residues inhibit platinum-cure silicone. Apply a thin sample to a hidden area and observe the cure. Vacuum degassing may improve surface quality, but it cannot rescue contaminated materials. Tin-cure silicone can be forgiving and economical, while platinum-cure systems often provide cleaner detail and longer mold life.
The “best” silicone rubber for mold making is not universal. I have seen technically impressive materials fail because the operator ignored demolding angles or mixed ratios. That is an uncomfortable reminder. Material selection must include handling habits, workshop temperature, ventilation, batch traceability, and responsible waste management. In 2026, reliable mold making means combining measurable performance with honest testing. Small experiments still beat confident assumptions.
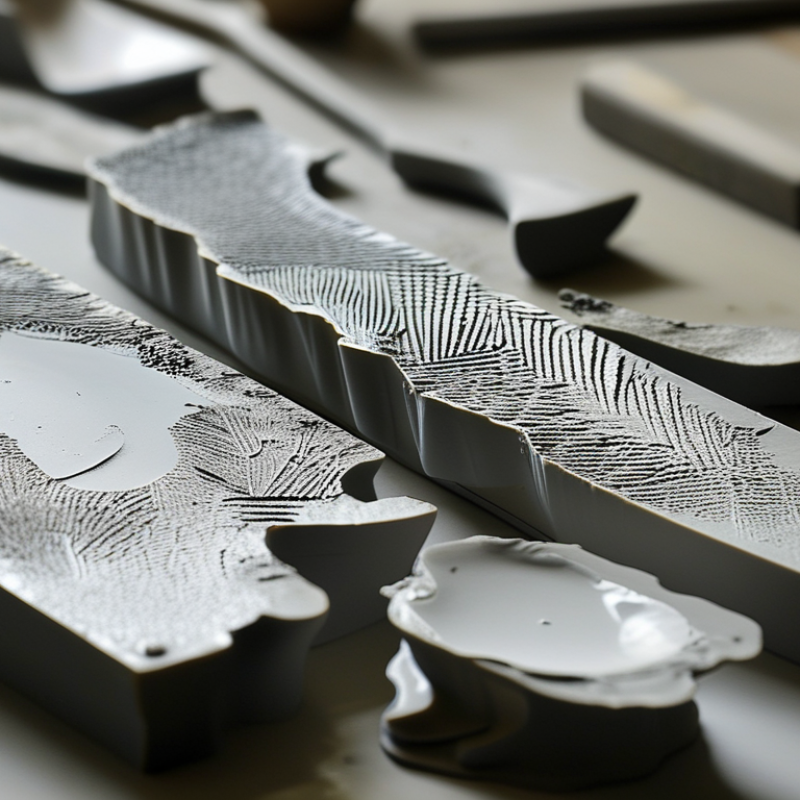
Choosing silicone rubber starts with the mold’s real working conditions, not only its advertised hardness.
For flexible molds, Shore A 10–40 usually provides a practical range. Shore A 10 can capture delicate textures and release complex shapes easily. Shore A 40 offers better support for taller or heavier castings. I measure hardness after full curing, because mixing errors and temperature changes can affect the final result.
Shrinkage below 0.3% matters when dimensions must remain accurate. I recommend checking technical data and testing a small sample before producing the complete mold.
A simple test block can reveal unexpected contraction, surface inhibition, or trapped bubbles. Do not trust one measurement blindly.
Temperature requirements need equal attention.
A 200°C service condition demands a silicone grade specifically rated for that exposure, including the intended heating time and cycle frequency. Short contact at 200°C differs greatly from continuous oven use.
I inspect the cured sample after heating for cracks, softening, discoloration, and loss of elasticity. Ventilation and correct curing ratios also influence reliability. Small mistakes happen. One overlooked thin section may tear during demolding.
For this reason, I record batch ratios, cure temperatures, and dimensional changes during each trial. That record often proves more useful than a confident specification sheet.

Mixing ratio matters more than many beginners expect. A 1:1 silicone system uses equal parts by weight or volume, depending on the technical sheet. It usually feels simple during production. A 10:1 system needs much tighter measurement control. A small excess of catalyst can shorten working time or leave the mold softer than expected. Always confirm the ratio with a calibrated scale.
Tin-cure silicone is often practical for general molds, prototypes, and textured patterns. It usually handles minor surface contamination better than platinum-cure silicone. However, it can shrink more over time and may release a slight odor during curing. Platinum-cure silicone generally offers lower shrinkage and cleaner reproduction. It can capture fingerprints, fabric weave, and sharp edges. It is also more sensitive to sulfur, amines, latex, and some pigments.
In workshop trials, I prefer 1:1 ratios for quick, repeatable batches. The margin for weighing mistakes is larger. A 10:1 ratio can work well for economical production, but I use separate syringes or a precise digital scale. Never mix by eye. I once trusted a marked cup and produced a sticky mold that looked cured outside. That mistake wasted a full afternoon. Small test pours remain valuable, especially when using new clay, paint, wood, or release agents. Ventilation, temperature, pot life, and demolding strength should be checked together, not separately.
How to Choose Silicone Rubber for Mold Making in 2026?
Viscosity should match the mold’s geometry, not just the product label. Silicone near 1,000–5,000 mPa·s flows around fingerprints, lettering, and narrow undercuts with less brushing. It also releases trapped air more easily during vacuuming or pressure casting. However, very thin silicone can run from an open mold. A vertical test panel reveals this quickly.
For larger sculptures or molds with steep walls, 10,000–50,000 mPa·s provides better body and edge stability. Higher viscosity can reduce drainage, but it may hide bubbles around fine textures. I usually pour slowly into one low corner and let the rubber rise naturally. A narrow stream helps. Not always enough.
Pot life controls the working window after mixing. A 20-minute pot life suits small molds and confident teams. It becomes risky when measuring, mixing, degassing, and coating take several minutes. A 40–60-minute pot life gives more control for detailed molds, repairs, and layered brush applications. Yet, longer working time can delay demolding and increase dust exposure.
Check viscosity and pot life at the actual workshop temperature, ideally around 23°C. Heat often shortens pot life and makes the material flow faster. Cold conditions can thicken it noticeably. Record the batch ratio, mixing time, room temperature, and observed flow. Technical data sheets are useful, but a small test remains more trustworthy. I once chose a high-viscosity formula for sharp detail and regretted it after finding bubbles in the lettering. Small trials prevent expensive assumptions.
When choosing silicone rubber for mold making in 2026, verify mechanical data before comparing price or cure speed. A practical screening range is 3–8 MPa tensile strength and 15–40 kN/m tear strength. These figures suit many plaster, wax, resin, and low-temperature casting applications.
ASTM D412 measures tensile strength using controlled specimens and extension rates. ASTM D624 evaluates tear resistance, which matters when removing sharp, deep, or undercut parts. The standards define test methods, not universal acceptance limits. Always request the test temperature, cure schedule, specimen type, and batch age. Otherwise, two datasheets may appear comparable but are not.
Recent 2024 silicone elastomer market reports describe steady growth in prototyping, medical modeling, and industrial replication. Their technical reviews repeatedly identify tear resistance as a key factor for reusable molds. In my workshop experience, a material near 20 kN/m may release simple shapes well, yet fail around thin fins. Higher strength helps, but excessive stiffness can damage fragile masters. That trade-off is easy to overlook.
Test a small mold first. Measure edge tearing after repeated demolding, not only after the first cast. Record results at room temperature and after heat exposure. Some compounds meet 6 MPa tensile strength but still split at corners. I would also question unusually high figures without independent laboratory evidence. Numbers can look precise. Real molds remain less predictable.
Typical performance targets for addition- or condensation-cure silicone rubbers used in mold making. Tensile strength is measured in MPa according to ASTM D412, while tear strength is measured in kN/m according to ASTM D624. Higher values generally improve mold durability, especially for complex parts with undercuts.
Choosing silicone rubber for mold making in 2026 requires more than comparing hardness, color, or curing speed. Compliance documents should be part of the selection process. Ask for current REACH and RoHS declarations, a safety data sheet, and traceable batch information. Do not rely on an old certificate.
Check the intended contact carefully. Food-contact molds may require jurisdiction-specific testing for migration, extractables, and repeated use. A material suitable for decorative chocolate molds may not suit acidic foods, oily mixtures, or elevated temperatures. Request a declaration of compliance that matches the exact silicone grade and curing system. Vague paperwork is a warning sign.
Reusable-cycle requirements also change the decision. Examine tear strength, compression set, surface wear, and release performance after repeated heating and washing. In practical mold testing, a sample can look perfect after ten cycles, then develop fine cracks near sharp corners. That detail matters. Test the finished mold, not only the raw rubber. Record temperature, cleaning method, demolding force, and cycle count. Small differences can become expensive failures.
Be cautious with “food safe” claims. They may describe a formulation, not your final process. Local requirements can differ, and compliance rules may change during 2026. Independent laboratory testing is sensible for commercial or high-volume use. I would also review the design itself; thin walls and severe undercuts can shorten reuse life, even with compliant silicone. That is an easy point to overlook.