2026 How to Use Rubberized Dip Coating for Best Results?
In the world of protective coatings, "rubberized dip coating" stands as a versatile solution for various applications. Industry expert John Edwards emphasizes its effectiveness, stating, “Rubberized dip coating offers unmatched durability and flexibility.” This method is widely used in automotive, electronics, and DIY projects, providing a robust barrier against elements.
Using rubberized dip coating requires careful preparation. The surface must be clean and dry for optimal adhesion. Many users overlook this crucial step, resulting in uneven coatings and premature peeling. Attention to detail during the dipping process is vital to achieve a uniform layer. The thickness of the coating can greatly affect its function. Users often struggle with achieving the desired thickness, leading to mixed results.
Understanding the properties of rubberized dip coating is essential. It is important to note that not all dips are created equal. Some users might find that their chosen product does not perform as promised. Testing different products and techniques can yield better outcomes. As you explore its capabilities, you may discover both successes and areas for improvement in your approach.
Understanding Rubberized Dip Coating: A Comprehensive Overview
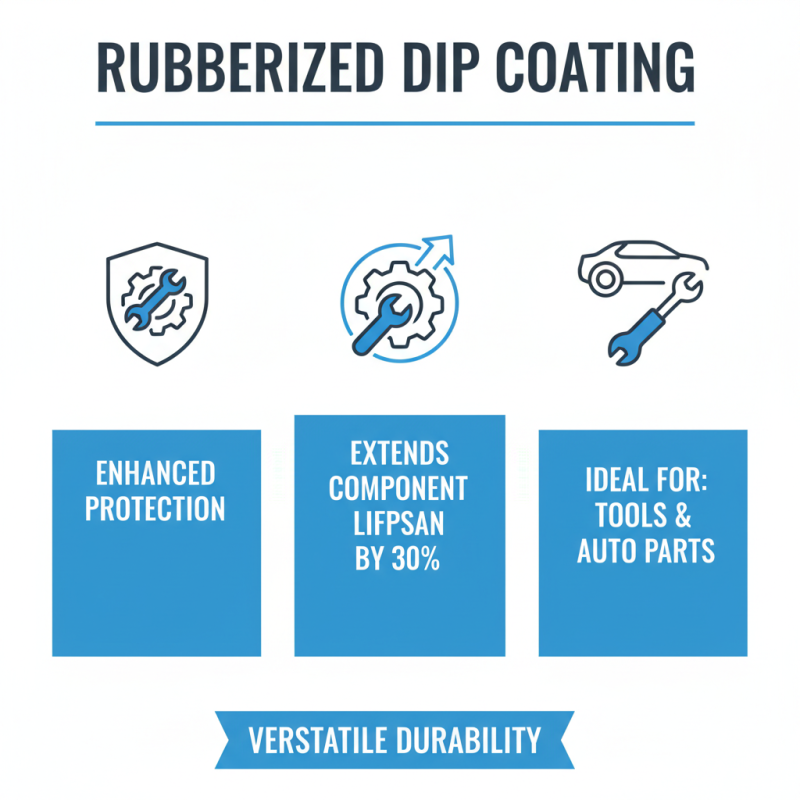
Rubberized dip coating has gained traction in various industries due to its versatility. This coating offers a protective layer that enhances durability. In fact, industry reports indicate that rubberized coatings can extend the lifespan of components by up to 30%. This is particularly crucial for tools and automotive parts, where wear and tear is common.
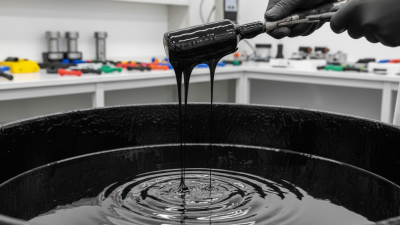
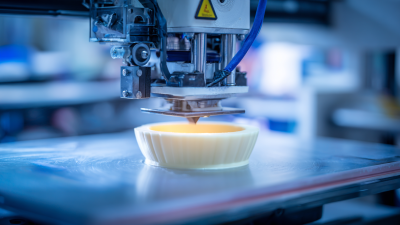
Understanding the process of rubberized dip coating is key. The application involves immersing an object in a liquid rubber solution. This solution cures upon exposure to air, forming a robust layer. A study noted that a thickness of 1-2mm could provide significant impact resistance. However, achieving uniform thickness can be challenging, especially with complex shapes.
One must be cautious of potential pitfalls. Overcrowding can lead to uneven coating. Inadequate preparation of the surface can result in poor adhesion. Attention to detail matters. Proper surface cleaning and optimal dipping speed are essential for achieving desired results. Keeping the coating controlled can improve quality.
Essential Tools and Materials for Rubberized Dip Coating Projects
To achieve the best results with rubberized dip coating, it’s essential to gather the right tools and materials. Start with a clean surface; dirt and grease can ruin your project. Use gloves to keep your hands clean and avoid contamination. A well-ventilated space is crucial for safety; fumes can be strong.
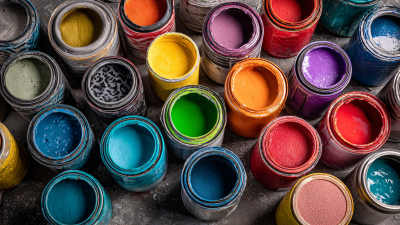
You will also need a good quality dip coating container. This ensures even coating and prevents waste. When choosing rubberized coating material, select one that matches your project’s needs. Look for variations in color and texture to create different effects. A pair of pliers or hooks can aid when dipping larger items. They help avoid contact with the coating surface.
Even with the right tools, mistakes may happen. You might apply too thick a coat, which leads to drips. Or, it could turn out uneven in thickness. Test a small area first to avoid disappointment. Reflection during and after the process is essential. You may need to adjust your technique for smoother results next time.
Step-by-Step Application Process for Optimal Results
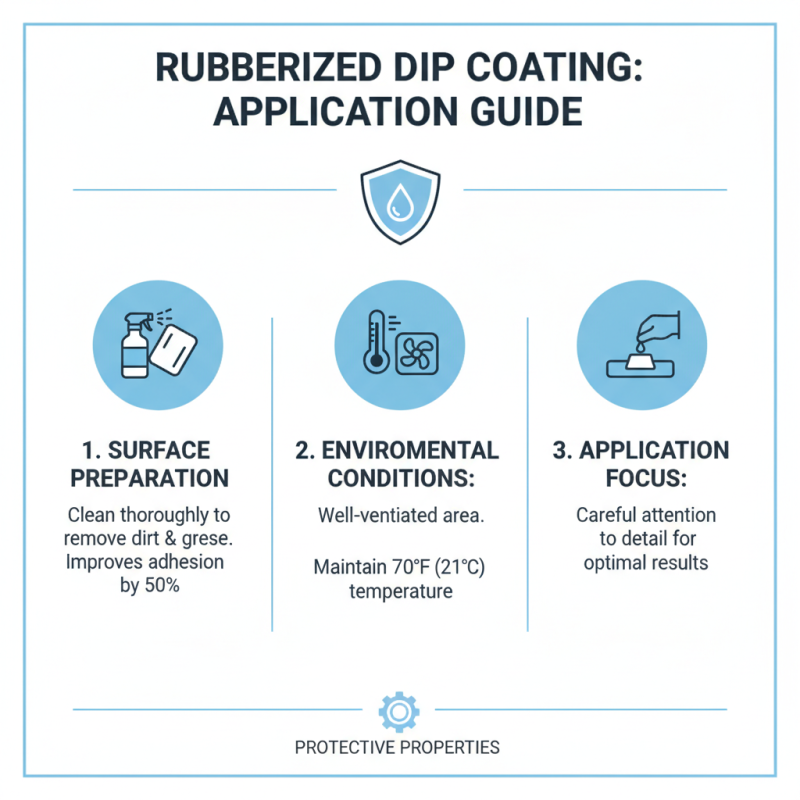
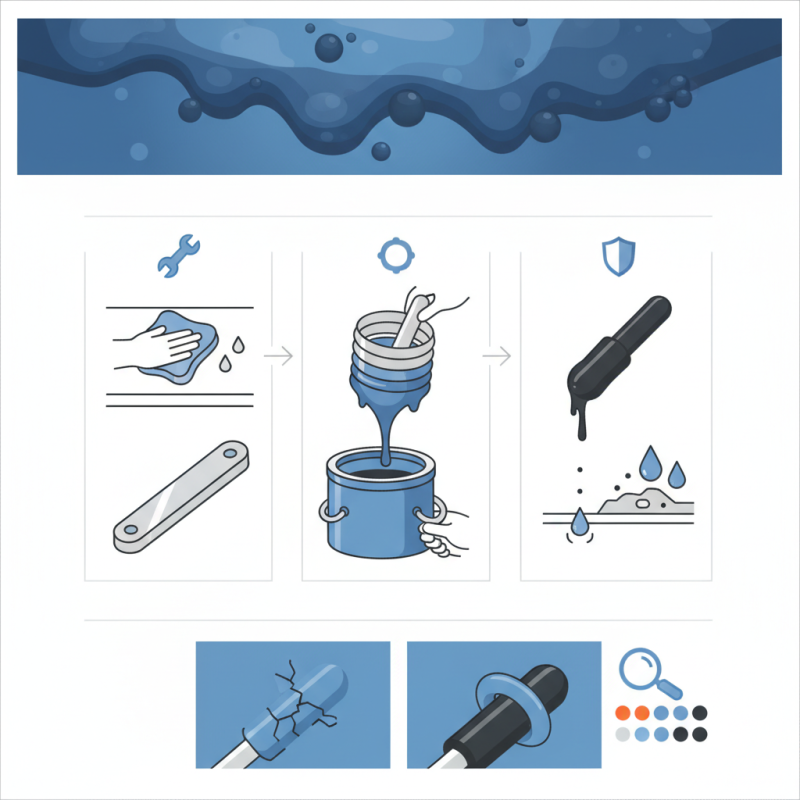
Rubberized dip coating is gaining traction for its protective qualities. Its application requires careful attention to detail. Start by cleaning the surface thoroughly to remove dirt and grease. According to industry reports, proper surface preparation can improve coating adherence by up to 50%. Ensure the area is well-ventilated and maintain a consistent temperature of around 70°F during application for optimal results.
Once the surface is ready, dip the item into the rubberized coating evenly. Avoid bubbles by pulling the item out slowly. Lifting too quickly can create imperfections. A thick layer can lead to uneven coverage and poor drying. After dipping, hang the item to allow excess coating to drip off. Let it cure for at least 24 hours. Studies show that proper curing time can enhance the durability of the coating by nearly 40%.
Inspect your work regularly. Look for uneven spots or thin areas that could compromise protection. It’s not uncommon for minimal imperfections to appear. Sometimes, getting it perfect takes practice. Paying attention to details can make all the difference. A second layer might be necessary for added durability, especially in high-wear environments. A reflective approach helps improve your technique over time.
Best Practices for Curing and Drying Rubberized Coatings
Curing and drying rubberized coatings require careful attention to detail. Proper curing is essential for achieving the desired strength and durability. According to a report from the Rubber Coating Association, incorrect curing can weaken the adhesive properties and result in premature failure. It is crucial to follow the manufacturer's guidelines for temperature and humidity levels during this phase.
Once the application is complete, allow the coating to cure in a controlled environment. A consistent temperature of around 70°F (21°C) is ideal. Temperature deviations can lead to uneven drying and potential adhesion issues. Humidity levels should also be monitored closely. High humidity can prolong drying time and may lead to surface imperfections.
It's not uncommon to encounter challenges during the curing process. Uneven coatings, environmental fluctuations, and insufficient drying times can compromise results. A small test area can be beneficial. It allows for assessment before committing to larger projects. Reflecting on these outcomes can lead to improved techniques and better coatings in the future.
Rubberized Dip Coating Performance by Curing Time
Common Mistakes to Avoid When Using Rubberized Dip Coating
When using rubberized dip coating, there are common mistakes that can lead to unsatisfactory results. One major error is applying the coating too thickly. A thick layer may appear uneven and can cause bubbling. This often happens when users rush the process or don't follow recommended application techniques. It's crucial to apply thin, even coats to achieve the best protection and finish.
Another mistake involves the preparation of the item to be coated. Surfaces must be clean and dry. Failing to properly clean the item can result in poor adhesion. Dust and grease can create weak points in the coating. Some users overlook this step, thinking a quick wipe is enough. In reality, using a suitable cleaner and ensuring complete drying is essential for a successful application.
The temperature and humidity during application also play significant roles. If the conditions are too humid, the coating may not cure properly, leading to a sticky or uneven surface. Many tend to disregard environmental factors, hoping for favorable outcomes. Being mindful of these details can drastically improve the final product. Small adjustments in technique can yield significant benefits.