10 Essential Tips for Mastering Dip Molding Techniques in Your Projects
Mastering the art of dip molding can significantly elevate the quality and efficiency of your manufacturing projects. As a versatile technique, dip molding allows for the creation of custom shapes and sizes with a seamless finish, making it an invaluable skill for professionals across various industries. In this article, we will explore the "2025 Top 10" essential tips to enhance your dip molding techniques, ensuring that each project is completed with precision and excellence.
From selecting the right materials to optimizing your process for better outcomes, these tips are designed to help you navigate common pitfalls and achieve superior results. Whether you are a beginner or an experienced technician, the insights shared will empower you to refine your dip molding skills.
Join us as we delve into the methodologies that will not only streamline your workflow but also inspire creativity in your projects.
Understanding the Basics of Dip Molding Techniques for Beginners
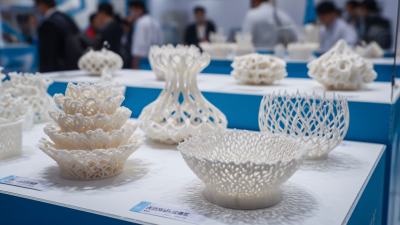
 Dip molding is a versatile technique that can elevate your craft projects to the next level. For beginners, understanding the fundamentals of dip molding is essential for success. Essentially, dip molding involves immersing a mold into a liquid material—often rubber or plastic—to create a durable, flexible product. This technique is particularly popular in producing grips, gaskets, and protective coatings. According to industry reports, the global dip molding market is expected to grow significantly, driven by increasing demand in various sectors including automotive and electronics.
To start with dip molding, it's crucial to choose the right materials. For instance, selecting the appropriate type of thermoplastic can affect the flexibility and durability of the end product. Beginners should also pay attention to the mold design, as this will directly impact the final finish and integrity of the molded item. Utilizing industry-standard practices, like controlling the dip time and curing process, can further enhance the quality of your projects. Furthermore, gaining insight from communities and resources dedicated to dip molding can provide invaluable tips and techniques, helping beginners to master this craft efficiently.
Essential Materials and Equipment for Successful Dip Molding Projects
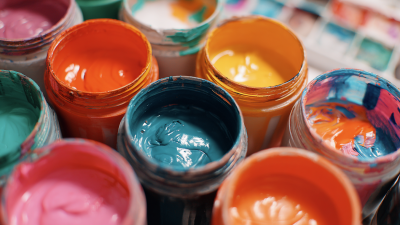
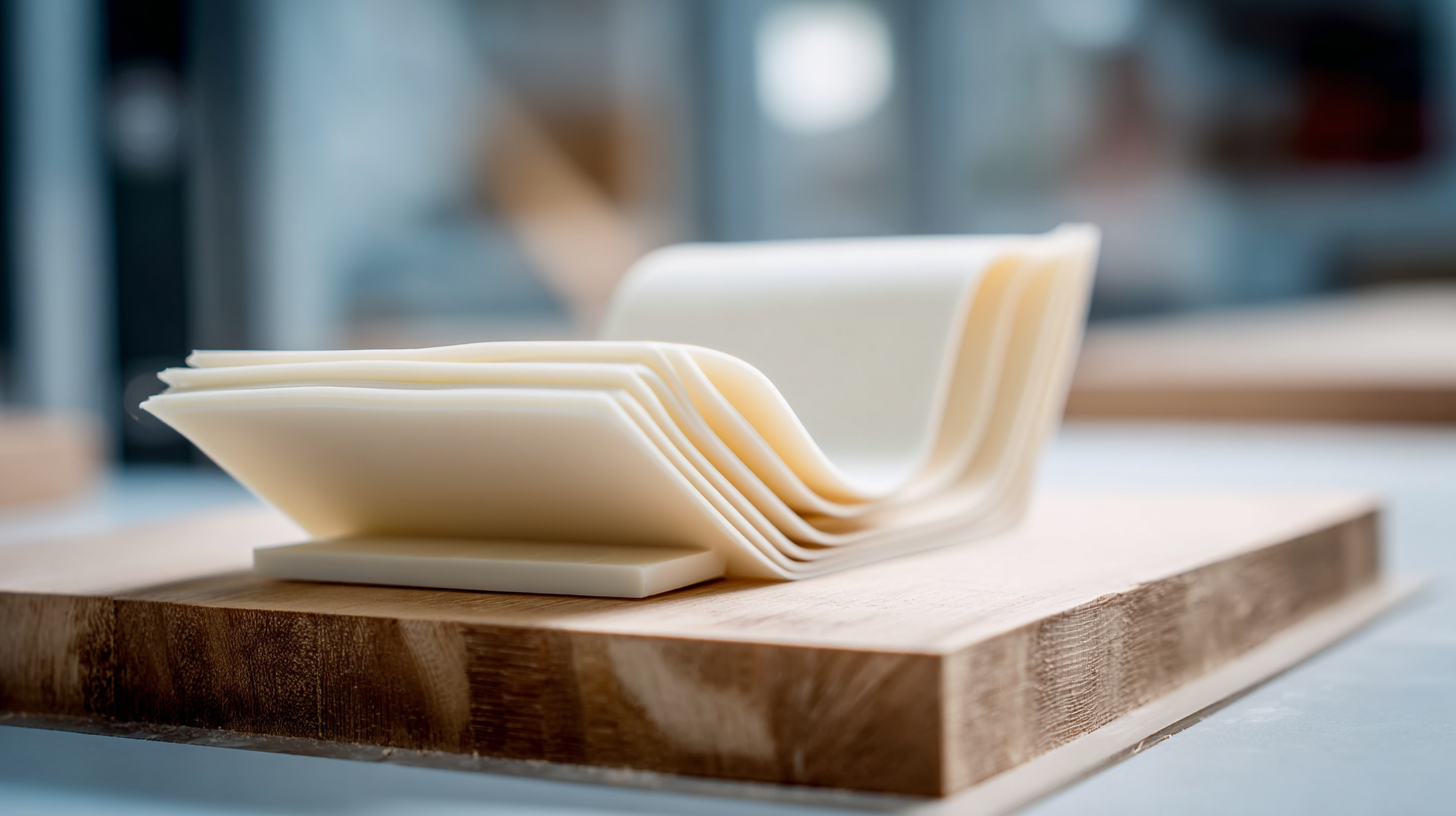
When embarking on dip molding projects, selecting the right materials and equipment is crucial for achieving high-quality results. One essential material is the molding compound, which should match the specific requirements of your project, whether it’s silicone, rubber, or polyurethane. Each type of compound has unique properties, such as flexibility and durability, which can significantly influence the final product. Additionally, the colorants used in the dip process can enhance aesthetic appeal or address functional needs, depending on the application.
In terms of equipment, a proper dip tank is fundamental. It should be designed to accommodate the size of the items being molded and provide consistent temperature control for the molding compound. Alongside this, it’s important to have heat guns or curing ovens at your disposal for optimal curing processes after dipping. Furthermore, protective gear like gloves and goggles should be included to ensure safety during the entire operation. By focusing on these essential materials and equipment, you can set the foundation for successful dip molding projects and achieve impressive outcomes.
Step-by-Step Guide to Preparing Your Mold for Optimal Results
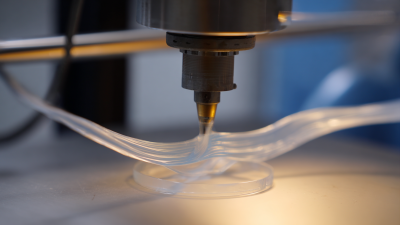
Preparing your mold for dip molding is a critical step that significantly impacts the final outcome of your project. Begin by selecting a mold that suits the shape and size of your desired product. Ensure the mold is clean and free from any impurities or residues that might transfer to the final product. A properly cleaned mold will help achieve a smooth surface finish. Additionally, consider applying a release agent to the mold. This coating prevents the material from sticking and allows for easier removal after the dipping process is complete.
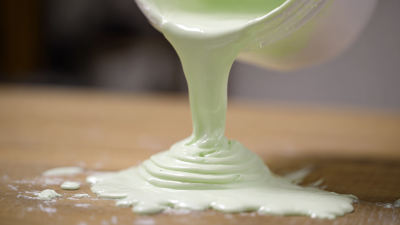
Once you have your mold ready, focus on the preparation of the dip material. It’s essential to maintain the right temperature for the material to ensure optimal viscosity, which affects how well it coats the mold. Stir the material thoroughly to eliminate any bubbles and ensure uniform consistency. When you're ready, dip the mold into the material steadily and allow it to drain for a moment to avoid excessive buildup. By taking these preparatory steps seriously, you enhance your chances of achieving a high-quality product with dip molding techniques.
10 Essential Tips for Mastering Dip Molding Techniques in Your Projects - Step-by-Step Guide to Preparing Your Mold for Optimal Results
| Tip Number |
Tip Title |
Description |
Importance |
| 1 |
Choose the Right Material |
Select a suitable thermoplastic elastomer for your project. |
High |
| 2 |
Prepare the Mold Surface |
Ensure the mold surface is clean and smooth to avoid defects. |
Very High |
| 3 |
Control Temperature |
Maintain an optimal temperature for dipping to ensure proper coating. |
High |
| 4 |
Use Proper Dipping Technique |
Dip the object slowly and steadily for an even coat. |
Critical |
| 5 |
Allow Proper Cooling Time |
Let the coated object cool down to improve adhesion. |
High |
| 6 |
Inspect the Coating |
Check for any imperfections or thin spots in the coating. |
Very High |
| 7 |
Repeat Dipping If Necessary |
Consider additional dips if the first layer is insufficient. |
Medium |
| 8 |
Enhance with Color or Texture |
Incorporate additives for color or texture in the coating. |
Medium |
| 9 |
Store Properly |
Store finished products in a suitable environment to maintain quality. |
High |
| 10 |
Document Your Process |
Keep records of your procedures for future reference. |
High |
Common Mistakes to Avoid During the Dip Molding Process
Dip molding is a versatile technique, but numerous mistakes can compromise the quality of your final product. One common issue is failing to achieve proper temperature control. Inadequate heating of the mold can lead to inconsistent thickness and weak spots in the molded product. Always ensure that the mold reaches the desired temperature before dipping to achieve optimal results.
Another frequent mistake involves the choice of materials. Using incompatible materials can result in incomplete adhesion or excessive brittleness after curing. Always conduct compatibility tests and choose high-quality materials that suit your specific project requirements. Additionally, neglecting to prepare the mold surface can lead to defects; make sure to clean and treat the mold properly to avoid issues like sticking or uneven coating.
Lastly, timing is crucial in the dip molding process. Many beginners either rush the dipping process or allow the item to sit too long in the solution, which can create unsatisfactory results. Be sure to monitor the timing closely and follow the recommended guidelines to achieve a smooth and durable finish.
Common Mistakes in Dip Molding Techniques
Advanced Tips for Achieving Professional-Quality Dip Molds
When it comes to dip molding, achieving a professional quality finish is essential for any project. One of the advanced techniques that can elevate your dip molding results is the use of precise temperature control throughout the process. According to industry reports, a consistent temperature range not only improves the quality of the mold but also enhances the uniformity of the final product. This means investing in quality thermometers and temperature regulation equipment can significantly impact your results.
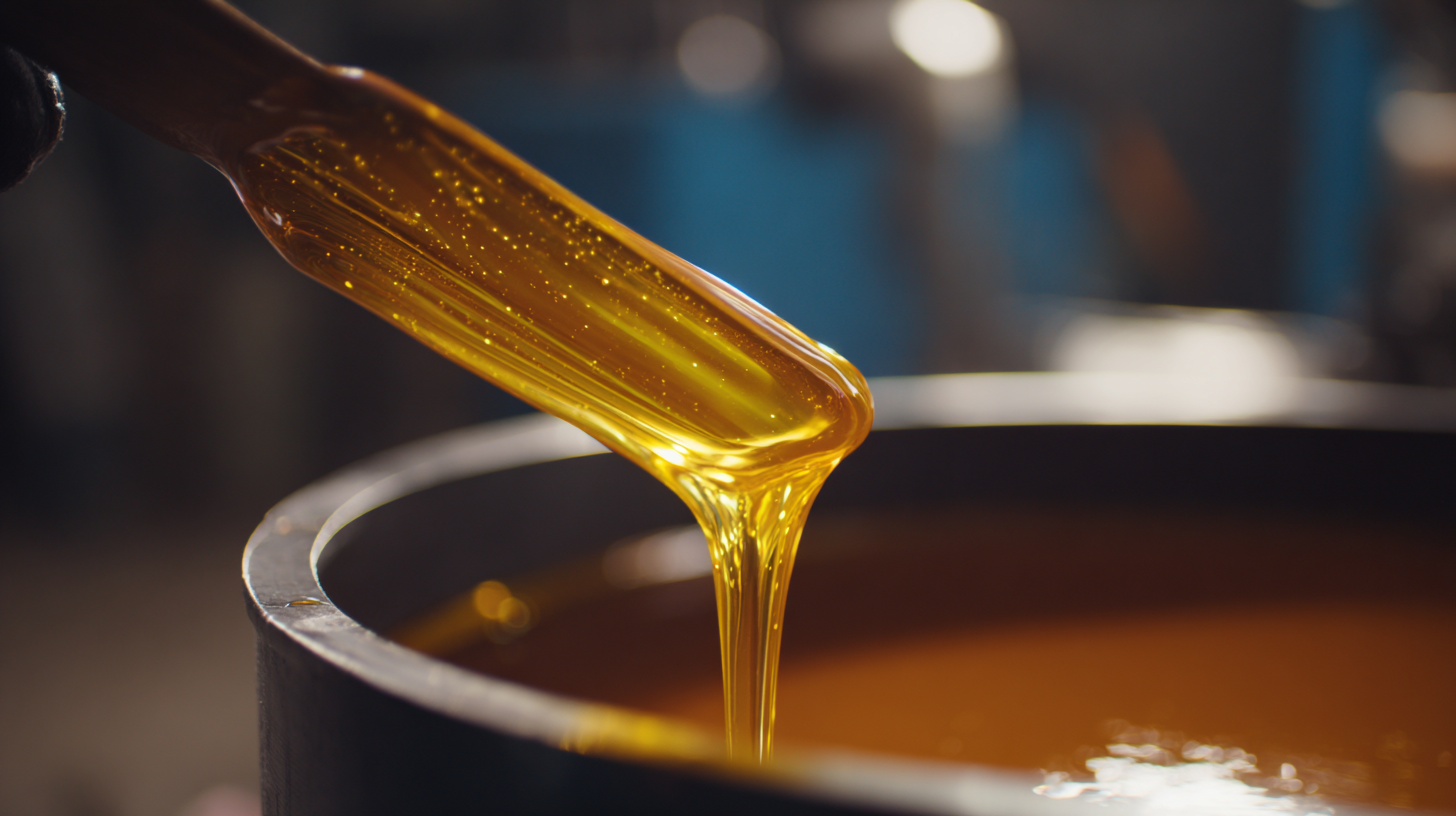
Another critical aspect of mastering dip molding is the choice of materials. High-quality polymer coatings have been shown to produce superior adhesion and longevity. Data from recent studies suggests that using materials with a lower viscosity can lead to smoother finishes and reduced defects in the final outcome. Additionally, incorporating proper curing methods can further refine the quality, making it crucial to understand both the chemical properties of your materials and the best practices for curing them effectively. By focusing on these advanced techniques, you can achieve molds that not only meet professional standards but also stand out in any competitive environment.