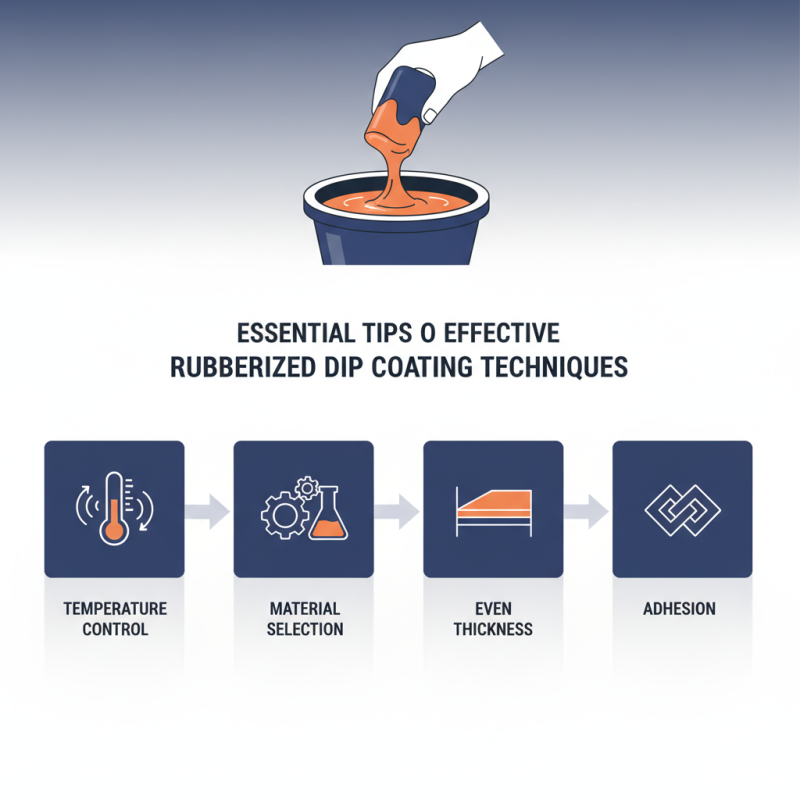
Essential Tips for Effective Rubberized Dip Coating Techniques?
Rubberized dip coating has become a crucial technique in various industries. This process enhances the durability and grip of products. According to a recent market report by Grand View Research, the global rubber coating market size is projected to reach USD 8.87 billion by 2025, driven by increasing demand across multiple sectors.
Expert James Parker, a leading authority in coating technologies, emphasizes, “Understanding the nuances of rubberized dip coating ensures superior performance.” His insights reflect the importance of technique in achieving optimal results.
However, achieving effective rubberized dip coating requires attention to detail. Many practitioners overlook key factors such as temperature control and material selection. This can lead to uneven thickness or adhesion issues. Therefore, mastering these techniques is essential for anyone looking to enhance their product's performance and longevity.
Understanding Rubberized Dip Coating: Basics and Benefits
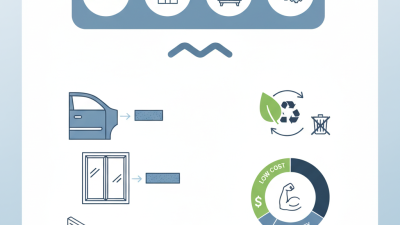
Rubberized dip coating is an effective process used to enhance the durability of various surfaces. This technique involves submerging an item in a liquid rubber solution, which, upon curing, creates a protective layer. According to industry reports from the Coatings Research Group, the rubberized coating market is expected to grow at a CAGR of 5.8% from 2021 to 2026. This growth reflects the increasing demand for protective coatings across various sectors such as automotive and electronics.
Understanding the basics of rubberized dip coating is crucial. The layers of rubber not only provide excellent abrasion resistance but also improve grip. Users have noted that items coated with rubberized solutions last significantly longer, as they are less prone to wear and tear. One study highlighted that rubberized coatings can reduce impact damage by up to 30%. However, it’s essential to ensure proper application. Over-applying the rubber can lead to pooling, which isn't always easy to correct.
Here are some tips for effective application. Ensure the surface is clean and dry before dipping. This promotes better adhesion. A consistent speed during the dip will result in a smoother finish. Additionally, observing the drying time is critical. Rushing this can lead to imperfections in the coating. Always test a small area first to adjust your technique based on your findings. Fine-tuning your approach can make a significant difference in the final outcome.
Tools and Materials Needed for Effective Dip Coating
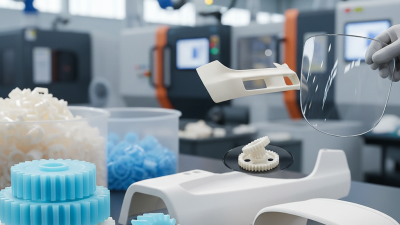
When it comes to rubberized dip coating, having the right tools and materials is crucial for success. A high-quality dip coating solution is essential for achieving a durable finish. Look for a product that offers good flexibility and resistance to wear. Additionally, invest in a clean, organized workspace to prevent contamination during the coating process.
Proper application requires a few key tools. A dipping tank or bucket will help maintain an even coating. Use a pair of pliers or a hook tool to hold your item while dipping. This method ensures that your hands remain clear of the coating solution. Wearing gloves is also necessary to protect your skin from unwanted exposure.
Don’t overlook the importance of preparation. Clean the surfaces thoroughly to remove dirt or grease. An abrasive pad may be used to enhance adhesion. Keep in mind that not every project turns out perfectly. Running tests on scrap materials can help you avoid errors on final items. Learning from mistakes is part of the process. Experiment with different techniques to find what works best for your specific needs.
Essential Tips for Effective Rubberized Dip Coating Techniques
| Item |
Purpose |
Material Type |
Required Quantity |
| Rubberized Coating |
Provides a protective layer |
Synthetic Rubber |
1 gallon |
| Dipping Tray |
For holding the coating material |
Plastic |
1 unit |
| Protective Gloves |
To protect hands from chemicals |
Nitrile |
1 pair |
| Masking Tape |
To mask off areas not to be coated |
Paper |
1 roll |
| Ventilation Fan |
To maintain air circulation |
Electric |
1 unit |
Step-by-Step Process for Applying Rubberized Coating
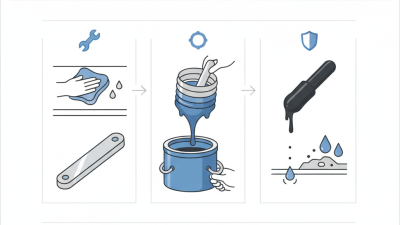
When applying rubberized coatings, precision matters. The first step is preparing the surface.
Clean it thoroughly to remove dirt, grease, or old paint. This ensures better adhesion.
Studies show that proper surface preparation can improve coating durability by up to 50%.
Use sandpaper or a power washer for particularly tough surfaces.
Next, choose the right application method.
Spraying provides uniform coverage and less waste.
Alternatively, brushing or dipping can be used for small areas. Each technique has unique advantages.
It's vital to follow manufacturer instructions regarding the number of coats. Typically, three coats provide optimal protection.
During application, ensure proper ventilation.
It helps to dissipate fumes.
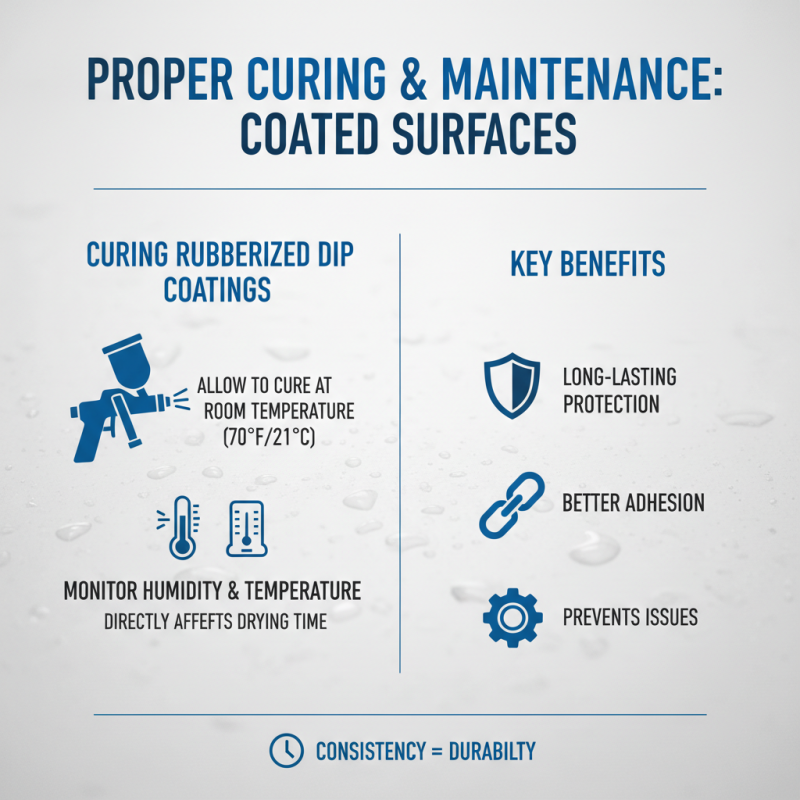
Temperature and humidity play a role in curing times.
Ideal conditions can shorten drying time significantly. However, unexpected delays might occur in adverse conditions.
Always allow adequate cure time before using the coated item. This patience is essential for achieving desired results.
Common Mistakes to Avoid in Rubberized Dip Coating Techniques
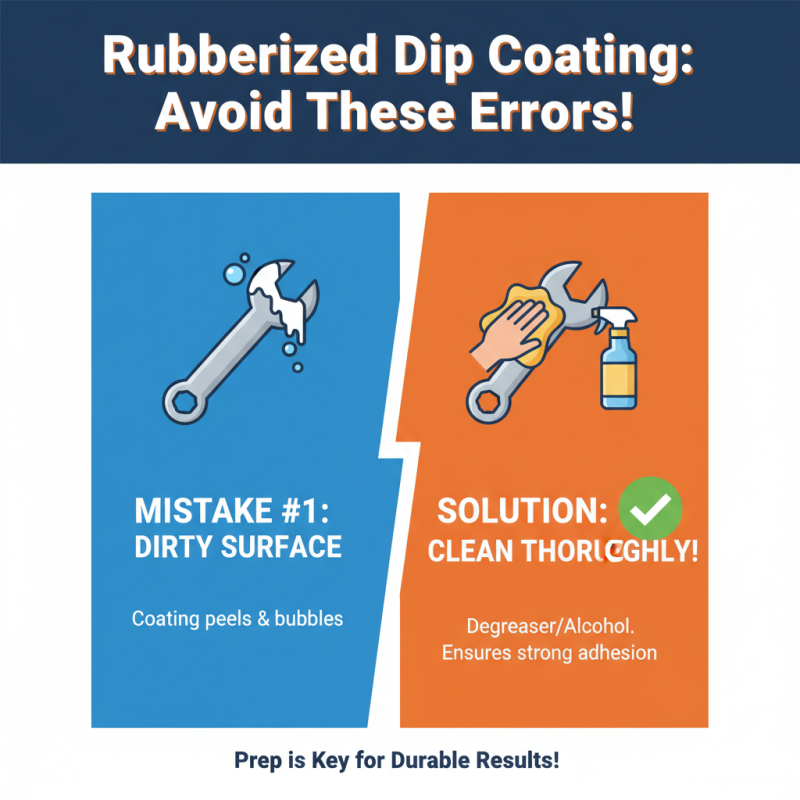
When working with rubberized dip coating, common mistakes can lead to poor results. One frequent error is inadequate surface preparation. Ignoring this step can cause the coating to peel or bubble. It’s essential to clean the item thoroughly. Use a degreaser or alcohol to remove any residues. This simple action lays a foundation for better adhesion.
Another pitfall is improper dipping techniques. Many people rush through the process, resulting in uneven coverage. They might dip too quickly, causing thick drips. Alternatively, they may dip too slowly, allowing dust to settle. Finding a balance is crucial. Aim for a steady, controlled dip to ensure an even coat. This approach will significantly improve the finish and durability of the coating.
Additionally, not following the drying times can be detrimental. Each layer needs time to cure properly. Rushing this can lead to smudges or compromised strength. Be patient and allow sufficient time between layers. Reflection on these common mistakes will enhance your skills and elevate your rubberized dip coating projects.